我的博客一直采用静态博客,有一天GitHub首页推送了一个主题,看了下预览界面挺好看,但是仔细一看是typecho框架的,又看了下typecho的介绍,挺轻量的一个框架,就尝试安装一下。

这个框架基于php,所以我们要安装php和相关依赖,数据库可以选择mysql和sqlite,这里我选择sqlite,接下来安装相关依赖。

1
sudo apt install php php-sqlite3 php-mbstring

然后需要安装一个http服务器,我选择nginx,

1
sudo apt install nginx

但是要用nginx解析php程序还需要FastCGI,这里用php-fpm

1
sudo apt install php-fpm

安装typecho框架,在下载页面下载之后解压到 /var/www/blog 下,把权限给www-data 用户

1
sudo chown -R www-data blog

然后启用nginx和fpm服务

1
sudo systemctl start  php8.2-fpm nginx

下面要配置nginx,在/etc/nginx/sites-available 文件夹下创建文件如blog.conf

 1
 2
 3
 4
 5
 6
 7
 8
 9
10
11
12
13
14
15
16
17
18
19
20
server {
    listen 80;
    server_name <your domain name>;

    root  /var/www/blog/;
    index index.php index.html index.htm;

    location / {
        try_files $uri $uri/ /index.php?$query_string;
    }

    location ~ \.php$ {
        include snippets/fastcgi-php.conf;
        fastcgi_pass unix:/var/run/php/php8.2-fpm.sock;
        fastcgi_param SCRIPT_FILENAME $document_root$fastcgi_script_name;
        include fastcgi_params;
    }

    # Additional Nginx configurations...
}

然后创建符号链接到sites-enabled

1
sudo ln -s $(realpath blog.conf) ../sites-enabled/blog.conf

测试配置文件

1
nginx -t

然后从浏览器访问域名即可。如果要配置https,可以用certbot申请免费证书并自动完成相关https配置。

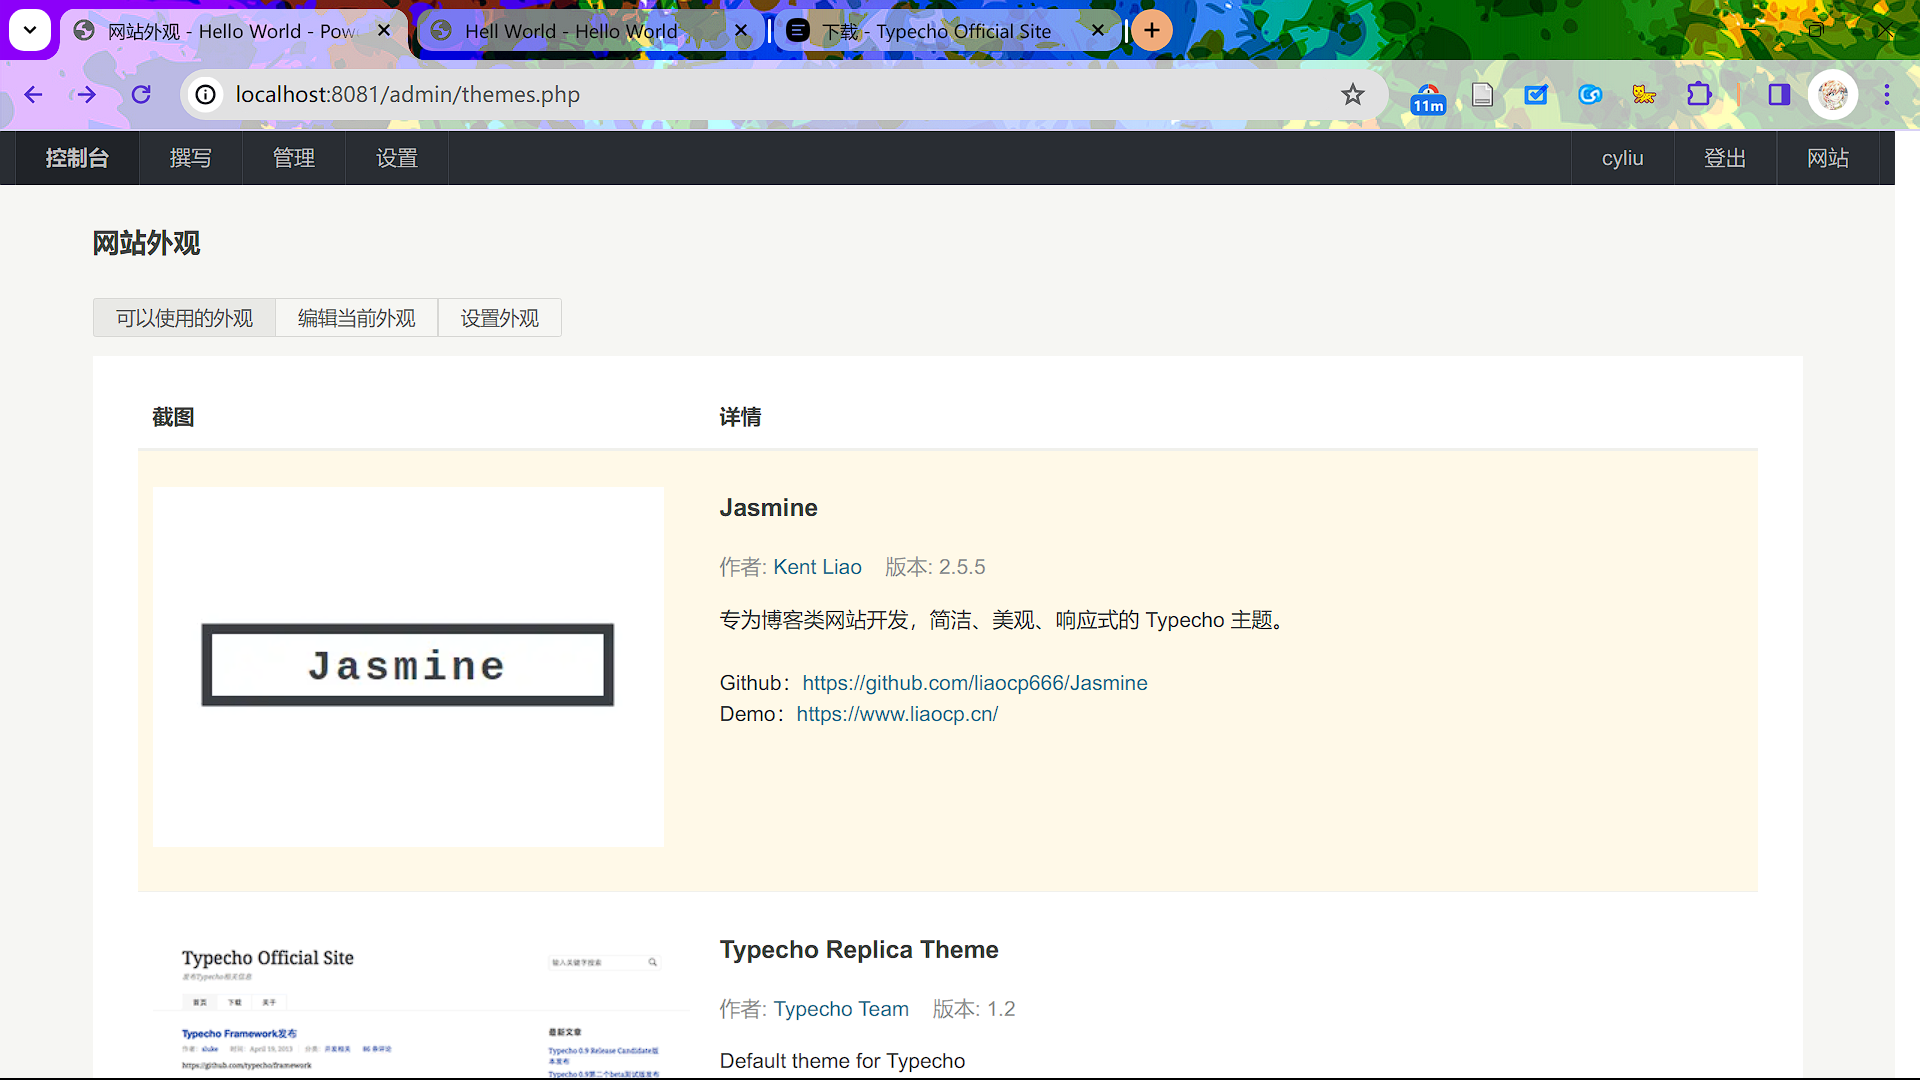
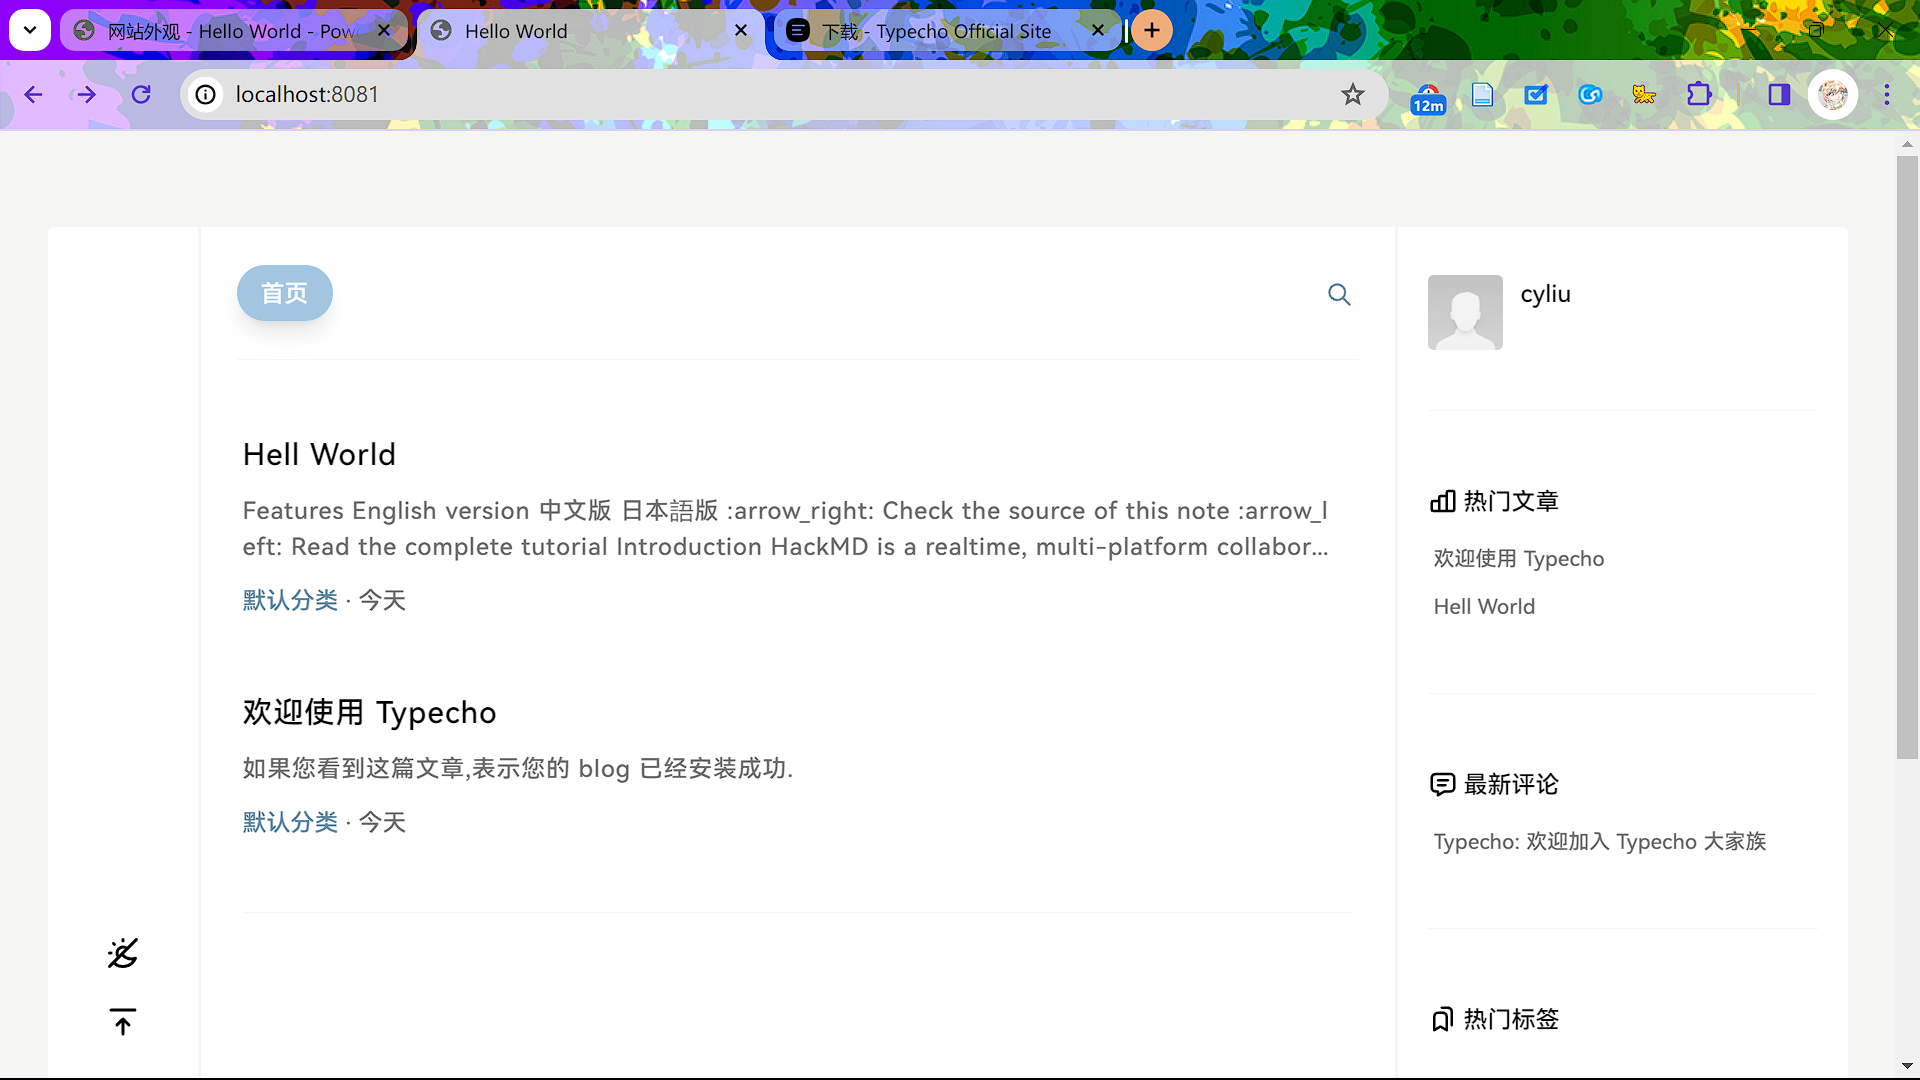
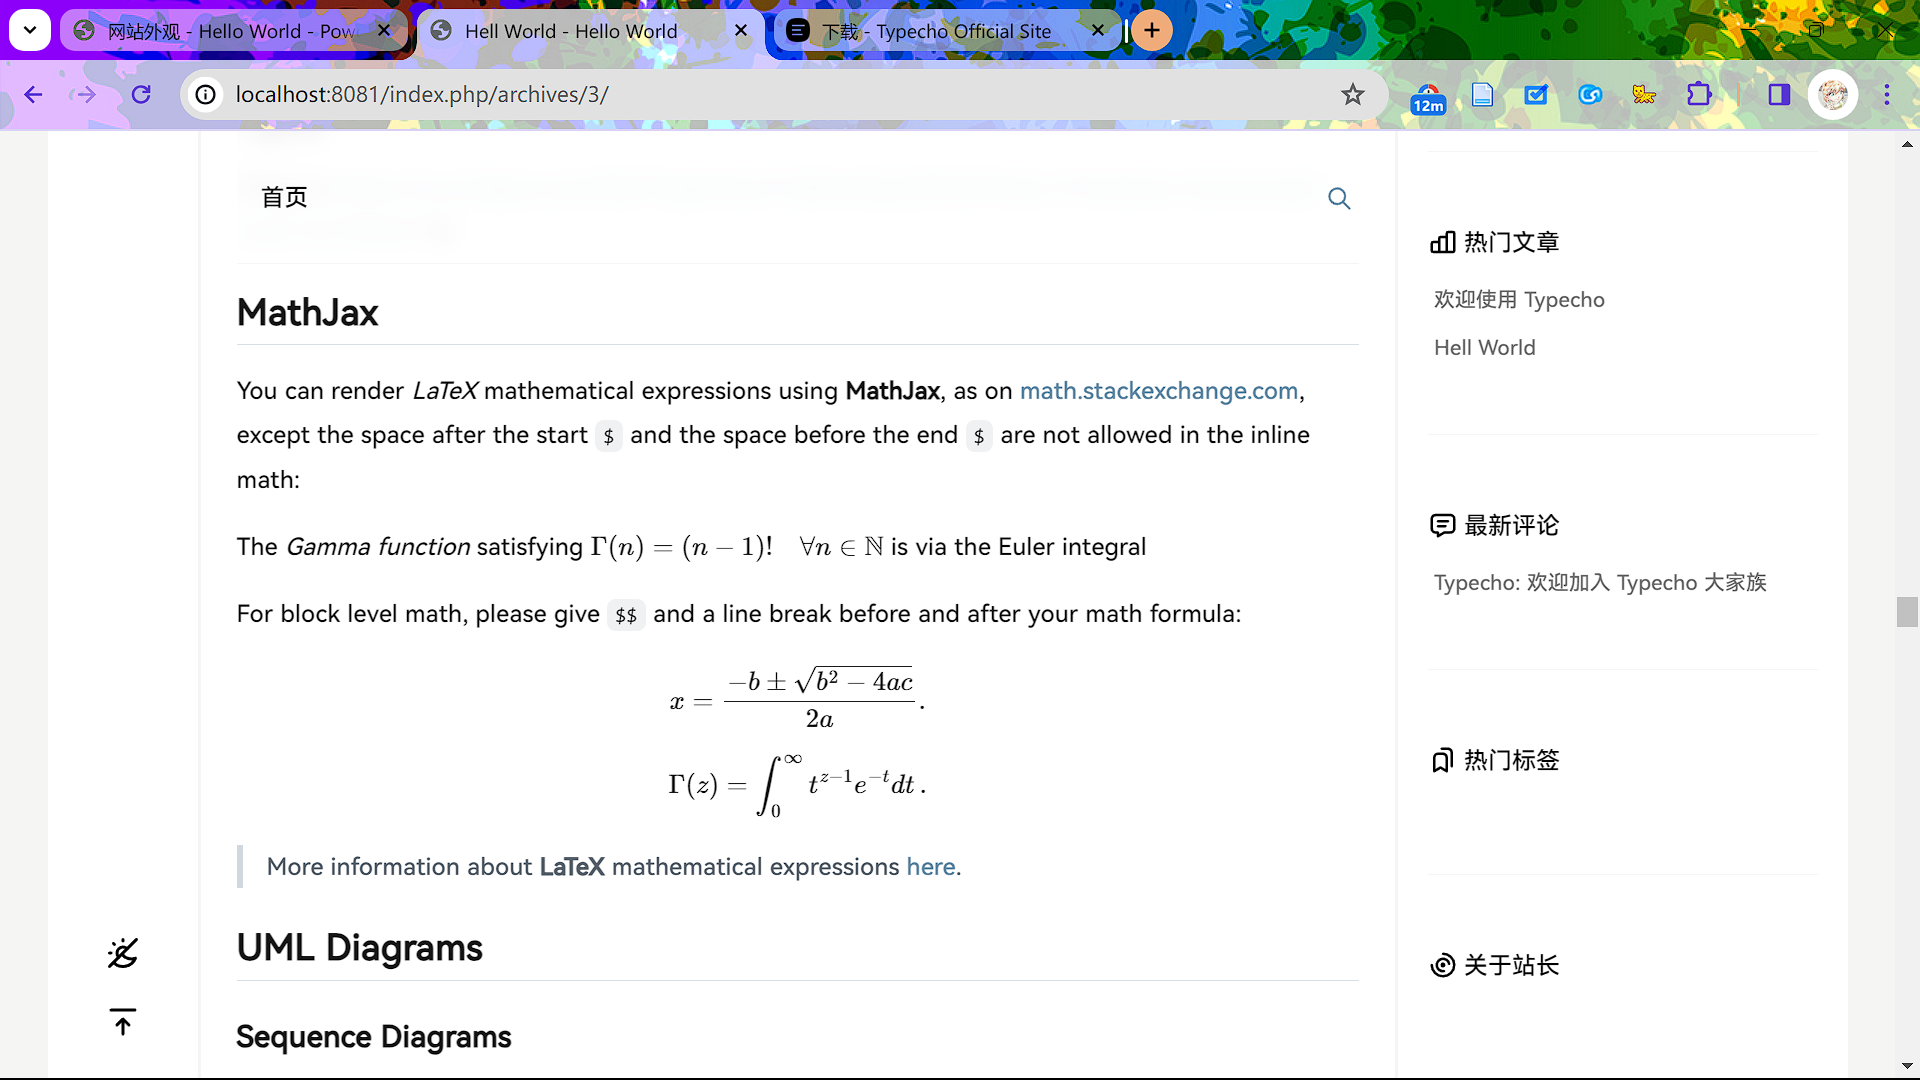
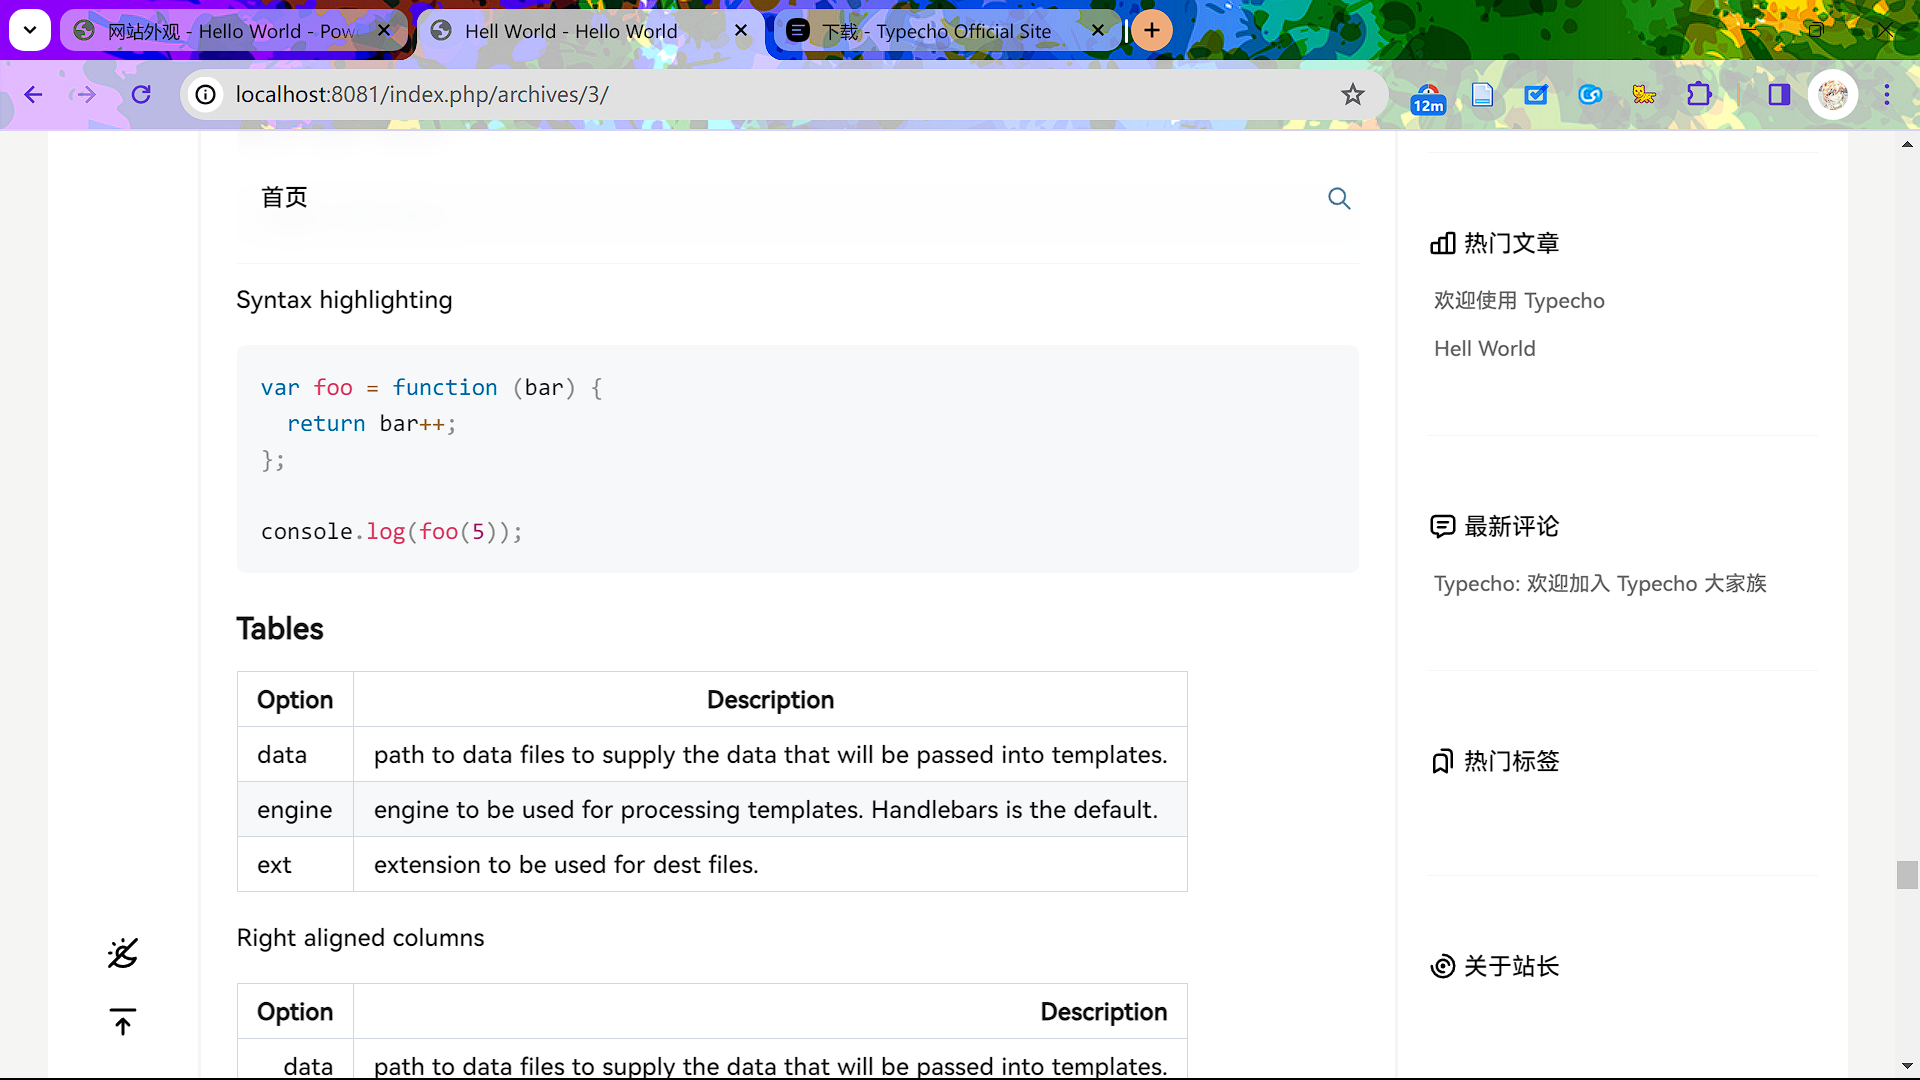
进入界面首先会检查相关依赖,如果出错再检查下前面的配置,没问题之后设置密码,然后进入管理界面,在这里可以发布文章,管理评论、插件、主题,要安装新主题把主题放到 usr/themes 目录下启用即可,安装插件也是同理,在 usr/plugins 目录下。安装了一个markdown插件,随便写点东西(请忽略我的typo),看起来还行,自带用户管理和评论功能,这点比hexo方便,但是配置起来不如hexo简单,而且不如hexo自定义功能好用。

安装完成,卸载,继续用hexo!